Enterprise Deployment
This guide shows how to install the add-in for multiple users at once in your organization. It follows the official Microsoft installation guide.
Before You Start
Section titled “Before You Start”You will need:
- The so-called
manifestfile: download manifest - Microsoft Office 365 account with one of these admin roles:
- Global Administrator
- Azure Application Administrator
- Exchange Administrator
- Users must have one of these license types:
- Microsoft 365 Business (Basic, Standard, or Premium)
- Office 365 Enterprise (E1, E3, E5, or F3)
- Microsoft 365 Enterprise (E3, E5, or F3)
For complete requirements, see the Microsoft documentation.
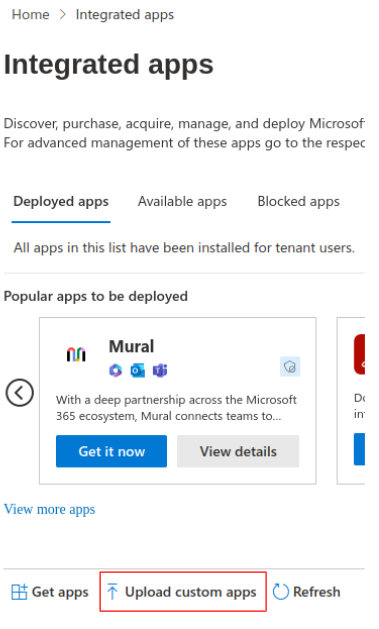
Administrator settings
Section titled “Administrator settings”1. Go To Microsoft Office 365 — On the left sidebar click Admin icon.

2. Go to Settings > Integrated apps.

3. Click on Upload custom apps.
4. Select App type = Office Add-in.
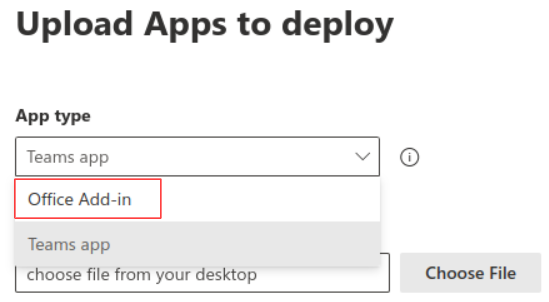
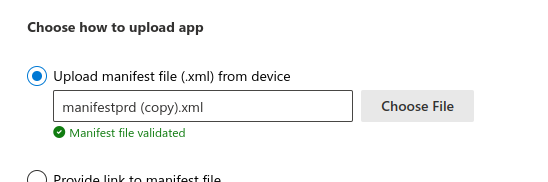
5. Upload manifest XML — Choose Upload manifest file from device and use the file provided above.
6. Click Next and Add users — Keep the toggle for test deployment to No — assign which users should be able to see and use the Add-in.

7. Finish deployment — Click Next — Accept permission request by clicking Next — Click Finish deployment.
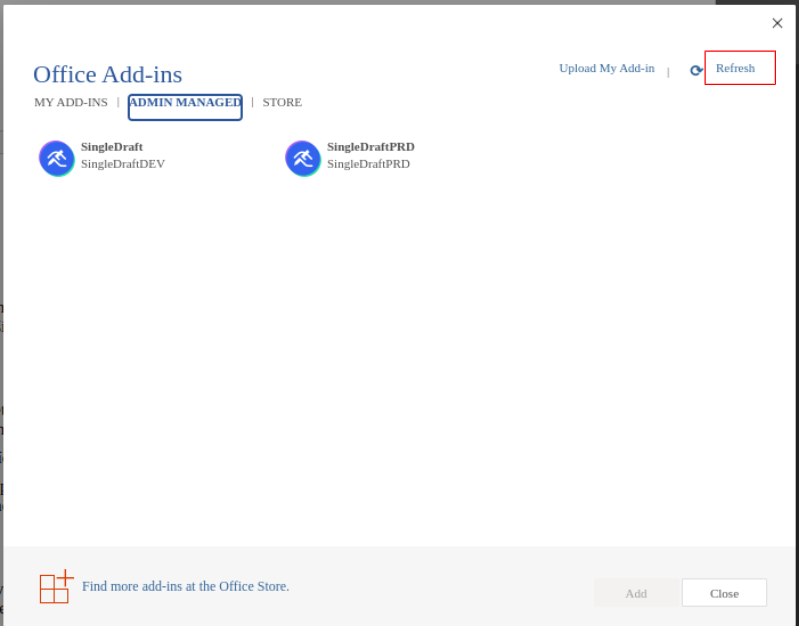
End user configuration
Section titled “End user configuration”1. Go to Home tab in Microsoft Word and click on Add-ins.

2. Click on More Add-ins.

3. The Add-in should be visible among other Admin Managed Add-ins.